Tutoriel sur le contrôleur de ver 3D pour Unity
Dans ce didacticiel, je vais montrer comment créer un contrôleur de ver simple dans Unity, inspiré du didacticiel de développement de jeux pour débutants TornadoTwins. série.
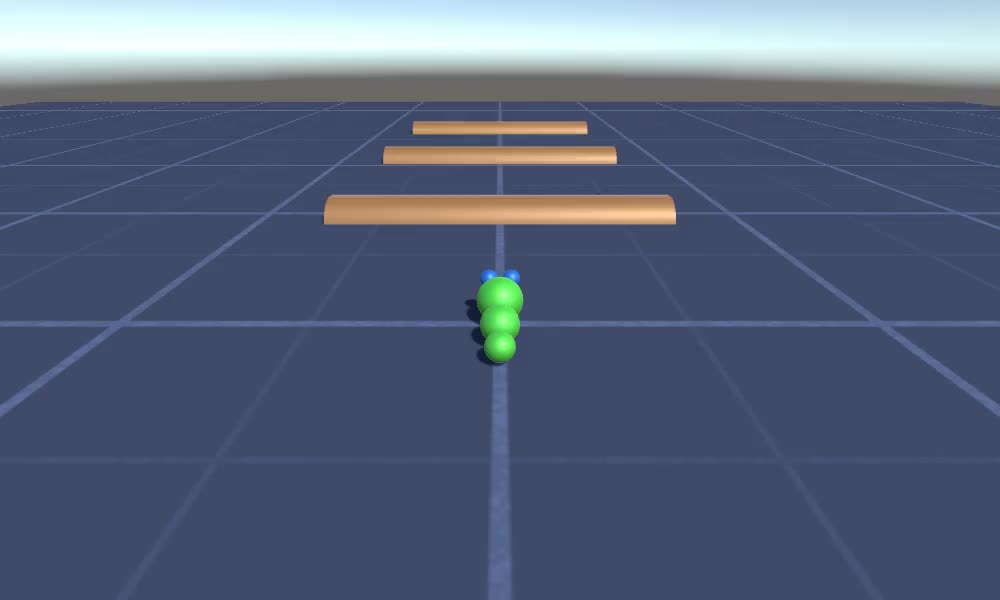
Le contrôleur de ver glissera avec un effet de suivi de queue fluide et aura la capacité de sauter.
Les scripts de ce didacticiel ont été initialement écrits en JavaScript (alias UnityScript), qui n'est plus pris en charge, je proposerai donc une alternative C#.
Pour créer un contrôleur de ver dans Unity, nous aurons besoin:
- Créer les scripts nécessaires
- Créer un personnage de ver
- Attribuer les scripts au personnage
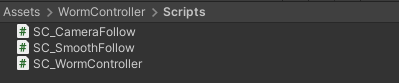
Étape 1: Créez tous les scripts nécessaires
Commençons par créer tous les scripts nécessaires à la configuration d'un contrôleur de ver:
- Créez un nouveau script, appelez-le "SC_WormController" et collez-y le code ci-dessous:
SC_WormController.cs
using System.Collections;
using System.Collections.Generic;
using UnityEngine;

[RequireComponent(typeof(CharacterController))]
public class SC_WormController : MonoBehaviour
{
    public float speed = 3.0f;
    public float rotateSpeed = 1.0f;
    public float jumpSpeed = 5.0f;
    public float gravity = 9.8f;

    CharacterController controller;
    Vector3 moveDirection;

    // Start is called before the first frame update
    void Start()
    {
        controller = GetComponent<CharacterController>();
    }

    // Update is called once per frame
    void Update()
    {
        // Rotate around y - axis
        transform.Rotate(0, Input.GetAxis("Horizontal") * rotateSpeed, 0);

        // Move forward / backward
        Vector3 forward = transform.TransformDirection(Vector3.forward);
        float curSpeed = speed * Input.GetAxis("Vertical");
        float movementDirectionY = moveDirection.y;
        moveDirection = forward * curSpeed;

        // Jumping
        if (Input.GetButtonDown("Jump") && controller.isGrounded)
        {
            moveDirection.y = jumpSpeed;
        }
        else
        {
            moveDirection.y = movementDirectionY;
        }

        // Apply gravity. Gravity is multiplied by deltaTime twice (once here, and once below
        // when the moveDirection is multiplied by deltaTime). This is because gravity should be applied
        // as an acceleration (ms^-2)
        if (!controller.isGrounded)
        {
            moveDirection.y -= gravity * Time.deltaTime;
        }

        // Move the controller
        controller.Move(moveDirection * Time.deltaTime);
    }
}- Créez un nouveau script, appelez-le "SC_CameraFollow" et collez-y le code ci-dessous:
SC_CameraFollow.cs
using System.Collections;
using System.Collections.Generic;
using UnityEngine;

public class SC_CameraFollow : MonoBehaviour
{
    /*
    This camera smoothers out rotation around the y-axis and height.
    Horizontal Distance to the target is always fixed.

    There are many different ways to smooth the rotation but doing it this way gives you a lot of control over how the camera behaves.

    For every of those smoothed values we calculate the wanted value and the current value.
    Then we smooth it using the Lerp function.
    Then we apply the smoothed values to the transform's position.
    */

    // The target we are following
    public Transform target;
    // The distance in the x-z plane to the target
    public float distance = 10.0f;
    // the height we want the camera to be above the target
    public float height = 5.0f;
    // How much we
    public float heightDamping = 2.0f;
    public float rotationDamping = 3.0f;

    void LateUpdate()
    {
        // Early out if we don't have a target
        if (!target)
            return;

        // Calculate the current rotation angles
        float wantedRotationAngle = target.eulerAngles.y;
        float wantedHeight = target.position.y + height;
        float currentRotationAngle = transform.eulerAngles.y;
        float currentHeight = transform.position.y;

        // Damp the rotation around the y-axis
        currentRotationAngle = Mathf.LerpAngle(currentRotationAngle, wantedRotationAngle, rotationDamping * Time.deltaTime);

        // Damp the height
        currentHeight = Mathf.Lerp(currentHeight, wantedHeight, heightDamping * Time.deltaTime);

        // Convert the angle into a rotation
        Quaternion currentRotation = Quaternion.Euler(0, currentRotationAngle, 0);

        // Set the position of the camera on the x-z plane to:
        // distance meters behind the target
        transform.position = target.position;
        transform.position -= currentRotation * Vector3.forward * distance;

        // Set the height of the camera
        transform.position = new Vector3(transform.position.x, currentHeight, transform.position.z);

        // Always look at the target
        transform.LookAt(target);
    }
}- Créez un nouveau script, appelez-le "SC_SmoothFollow" et collez-y le code ci-dessous:
SC_SmoothFollow.cs
using System.Collections;
using System.Collections.Generic;
using UnityEngine;

public class SC_SmoothFollow : MonoBehaviour
{
    // The target we are following
    public Transform target;
    // The distance in the x-z plane to the target
    public float distance = 10.0f;
    // the height we want the camera to be above the target
    public float height = 5.0f;
    // How much we
    public float heightDamping = 2.0f;
    public float rotationDamping = 3.0f;

    // Start is called before the first frame update
    void Start()
    {
        if (!target) return;

        transform.LookAt(target);
    }

    void LateUpdate()
    {
        // Early out if we don't have a target
        if (!target) return;

        // Calculate the current rotation angles
        float wantedRotationAngle = target.eulerAngles.y;
        float wantedHeight = target.position.y + height;

        float currentRotationAngle = transform.eulerAngles.y;
        float currentHeight = transform.position.y;

        // Damp the rotation around the y-axis
        currentRotationAngle = Mathf.LerpAngle(currentRotationAngle, wantedRotationAngle, rotationDamping * Time.deltaTime);

        // Damp the height
        currentHeight = Mathf.Lerp(currentHeight, wantedHeight, heightDamping * Time.deltaTime);

        // Convert the angle into a rotation
        var currentRotation = Quaternion.Euler(0, currentRotationAngle, 0);

        // Set the position of the camera on the x-z plane to:
        // distance meters behind the target
        transform.position = target.position;
        transform.position -= currentRotation * Vector3.forward * distance;

        // Set the height of the camera
        transform.position = new Vector3(transform.position.x, currentHeight, transform.position.z);

        // Always look at the target
        transform.LookAt(target);
    }
}
Étape 2: Créer un personnage de ver
L'étape suivante consiste à créer un personnage de ver:
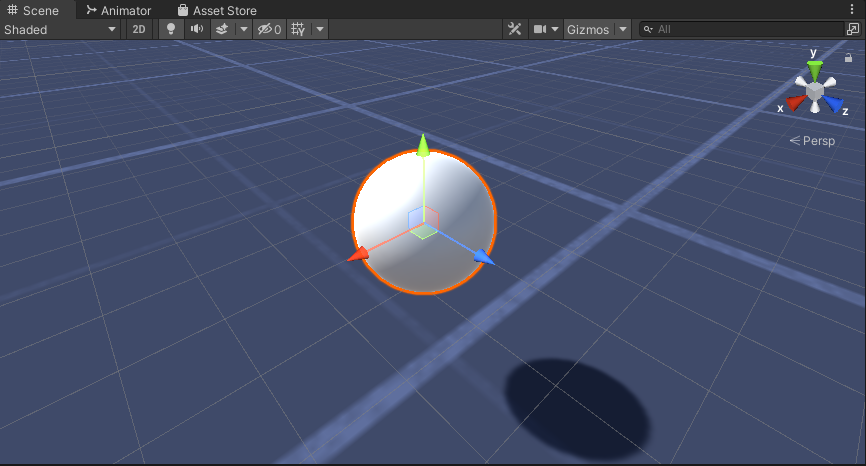
- Créez une nouvelle sphère (GameObject -> Objet 3D -> Sphere), changez sa position en (0, 0, 0), supprimez son composant SphereCollider et renommez-le en "Worm"
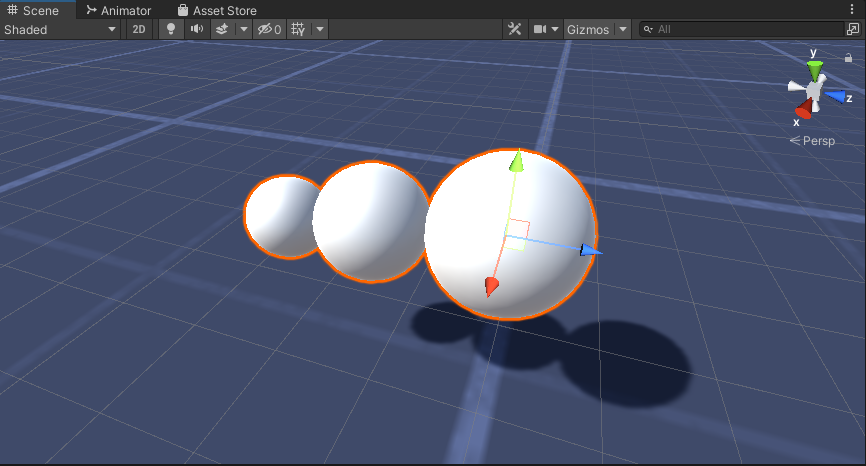
- Dupliquez la sphère "Worm", renommez-la en "BodyPart1", changez sa position en (0, -0.1, -0.9) et changez son échelle en (0.8, 0.8, 0.8).
- Dupliquez à nouveau la sphère "Worm", renommez-la en "BodyPart2", changez sa position en (0, -0,2, -1,6) et changez son échelle en (0,6, 0,6, 0,6).
- Faites un clic droit sur l'objet "Worm" -> Créer vide et renommez l'objet nouvellement créé en "Eyes"
- Dupliquez la sphère "BodyPart2", renommez-la en "Eye" et déplacez-la à l'intérieur de l'objet "Eyes", changez sa position en (-0,24, 0,353, 0,324) et changez son échelle en (0,4, 0,4, 0,4)
- Dupliquez la sphère "Eye" et changez sa position X à 0,24
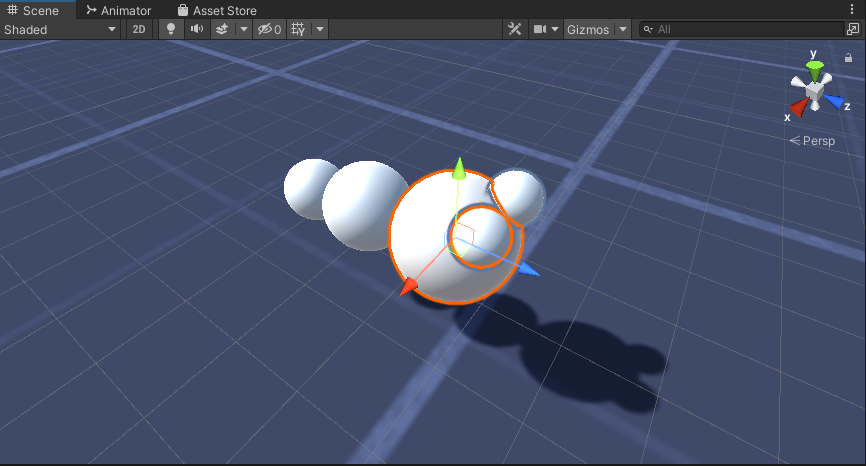
- Pour la visualisation, vous pouvez créer quelques matériaux, par exemple du vert pour le corps et du bleu pour les yeux.

Le personnage du ver est prêt.
Étape 3: configurer le contrôleur de ver
La dernière étape consiste à attribuer les scripts:
- Attachez le script SC_CameraFollow à l'objet Caméra principale et attribuez la sphère "Worm" à la variable cible:

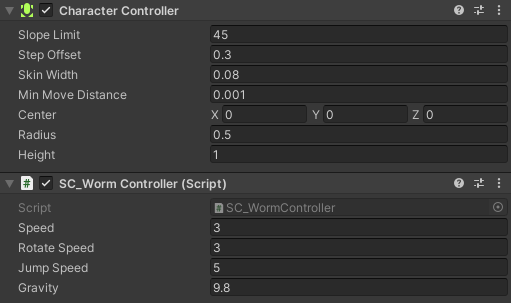
- Attachez le script SC_WormController à la sphère "Worm" (il ajoutera automatiquement un autre composant appelé CharacterController):
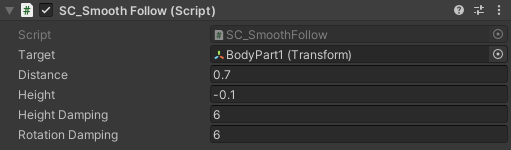
- Attachez le script SC_SmoothFollow à la sphère "BodyPart1" et définissez ses valeurs de la même manière que dans la capture d'écran ci-dessous:

- Attachez le script SC_SmoothFollow à la sphère "BodyPart2" et définissez ses valeurs de la même manière que dans la capture d'écran ci-dessous:
Le contrôleur est maintenant prêt, utilisez W, A, S et D pour vous déplacer et Espace pour sauter.
Le package source Unity est disponible ci-dessous.