Tutoriel multijoueur sur écran partagé sur un même PC pour Unity
Dans ce didacticiel, je vais montrer comment créer un multijoueur en écran partagé dans Unity.
Pas
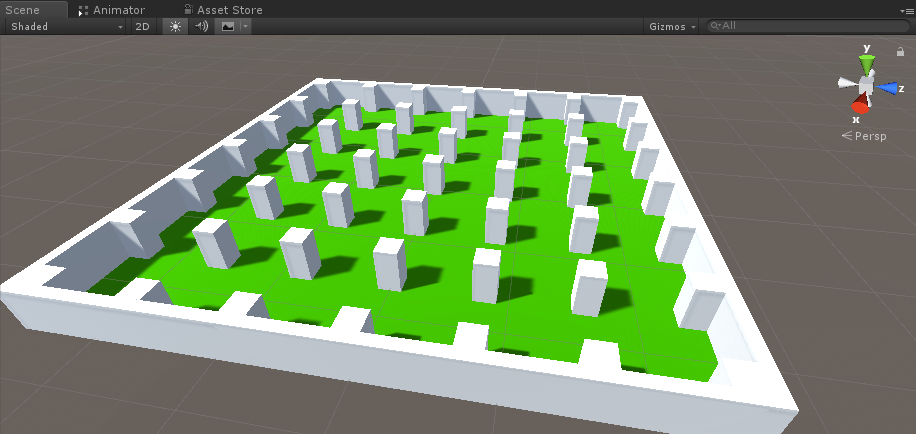
- Ouvrez une scène avec votre niveau (dans mon cas ce sera une simple scène avec quelques cubes)
- Créez un nouveau GameObject et appelez-le "Player 1"
- Créez un nouveau cube et déplacez-le à l'intérieur de l'objet "Player 1" (supprimez son composant Box Collider)
- Créez quelques cubes supplémentaires pour les yeux et la bouche (supprimez également leurs composants Box Collider)

- Déplacez la caméra principale à l'intérieur de l'objet "Player 1" et pointez-la vers un cube.


- Créez un nouveau script, nommez-le "RigidbodyPlayerController" et collez-y le code ci-dessous:
RigidbodyPlayerController.cs
using UnityEngine;
using System.Collections;

[RequireComponent(typeof(Rigidbody))]
[RequireComponent(typeof(CapsuleCollider))]

public class RigidbodyPlayerController : MonoBehaviour
{

    public enum PlayerControls { WASD, Arrows }
    public PlayerControls playerControls = PlayerControls.WASD;
    public float movementSpeed = 3f;
    public float rotationSpeed = 5f;

    Rigidbody r;
    float gravity = 10.0f;

    void Awake()
    {
        r = GetComponent<Rigidbody>();
        r.freezeRotation = true;
        r.useGravity = false;
    }

    // Update is called once per frame
    void FixedUpdate()
    {
        // Move Front/Back
        Vector3 targetVelocity = Vector3.zero;
        if ((playerControls == PlayerControls.WASD && Input.GetKey(KeyCode.W)) || (playerControls == PlayerControls.Arrows && Input.GetKey(KeyCode.UpArrow)))
        {
            targetVelocity.z = 1;
        }
        else if ((playerControls == PlayerControls.WASD && Input.GetKey(KeyCode.S)) || (playerControls == PlayerControls.Arrows && Input.GetKey(KeyCode.DownArrow)))
        {
            targetVelocity.z = -1;
        }
        targetVelocity = transform.TransformDirection(targetVelocity);
        targetVelocity *= movementSpeed;

        // Apply a force that attempts to reach our target velocity
        Vector3 velocity = r.velocity;
        Vector3 velocityChange = (targetVelocity - velocity);
        float maxVelocityChange = 10.0f;
        velocityChange.x = Mathf.Clamp(velocityChange.x, -maxVelocityChange, maxVelocityChange);
        velocityChange.z = Mathf.Clamp(velocityChange.z, -maxVelocityChange, maxVelocityChange);
        velocityChange.y = 0;
        r.AddForce(velocityChange, ForceMode.VelocityChange);

        // We apply gravity manually for more tuning control
        r.AddForce(new Vector3(0, -gravity * r.mass, 0));


        // Rotate Left/Right
        if ((playerControls == PlayerControls.WASD && Input.GetKey(KeyCode.A)) || (playerControls == PlayerControls.Arrows && Input.GetKey(KeyCode.LeftArrow)))
        {
            transform.Rotate(new Vector3(0, -14, 0) * Time.deltaTime * rotationSpeed, Space.Self);
        }
        else if ((playerControls == PlayerControls.WASD && Input.GetKey(KeyCode.D)) || (playerControls == PlayerControls.Arrows && Input.GetKey(KeyCode.RightArrow)))
        {
            transform.Rotate(new Vector3(0, 14, 0) * Time.deltaTime * rotationSpeed, Space.Self);
        }
    }
}- Attachez le script RigidbodyPlayerController à "Player 1" (vous remarquerez qu'il ajoutera 2 composants supplémentaires, Rigidbody et Capsule Collider)
- Ajustez Capsule Collider jusqu'à ce qu'il corresponde aux dimensions du Cube.
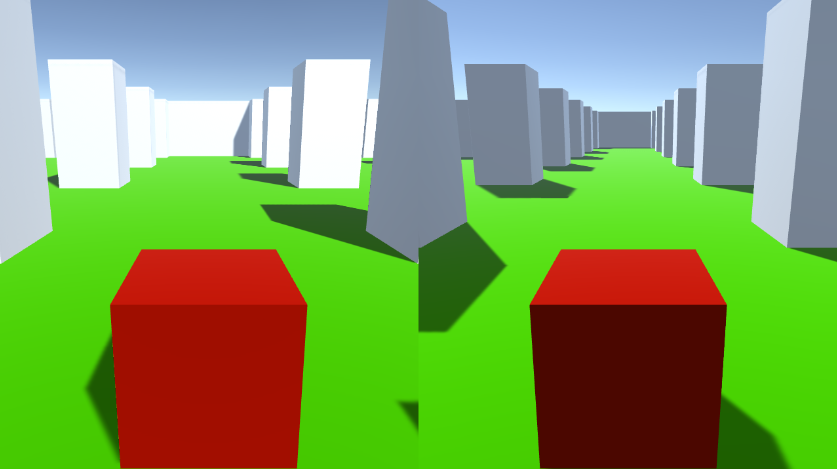
Vous trouverez ci-dessous les étapes pour créer un écran partagé à 2 joueurs:
- Dupliquez l'objet "Player 1" et renommez-le en "Player 2".
- Dans RigidbodyPlayerController, remplacez les contrôles du joueur par "Arrows".

- Remplacez les valeurs Viewport Rect de la caméra "Player 1" par X: 0 Y: 0,5 W: 1 H: 0,5
![]()
- Remplacez les valeurs Viewport Rect de la caméra "Player 2" par X: 0 Y: 0 W: 1 H: 0,5
![]()
Vous pouvez également configurer un écran partagé vertical en définissant les valeurs ci-dessous:
X: 0 Y: 0 W: 0,5 H: 1 pour la caméra 1
X: 0,5 Y: 0 W: 0,5 H: 1 pour la caméra 2